
Nateo Tutorial: Empty Time Chart
In this tutorial you will create a Windows Form application, add the necessary resources (DLLs) to it so you can use the Nateo components, and finally set up a Time Chart on the Form.
Gloals:
- Learn to integrate the Nateo resources to your application by adding the references to the Nateo DLLs.
- Arrange the Nateo controls (NtTimeChartControl, NtHeaderControl, NtFlankControl, Scrollbars, NtBackPanel) on your Form in a way that they align well and follow changes of Form size.
- Initialize the the controls appropriately in the
Load() member of your Form.
Creating a Windows Form Application and add the references:
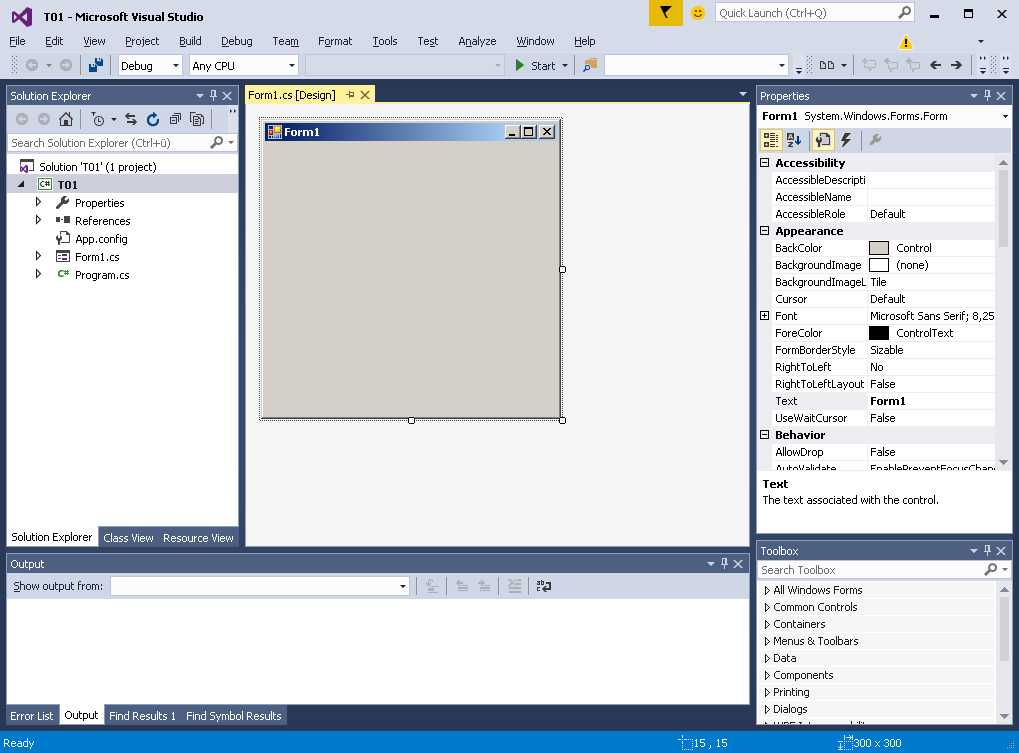
1. Create a new Windows Forms solution. In this example the name of the solution is T01.
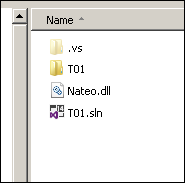
2. Place the Nateo.dll into your solution's folder right where the solution file (.sln) is located:
3. Add the reference to this Nateo.dll to your project (right-click on References, select 'Add Reference', on the left side click on 'Browse', then hit the 'Browse...' button):
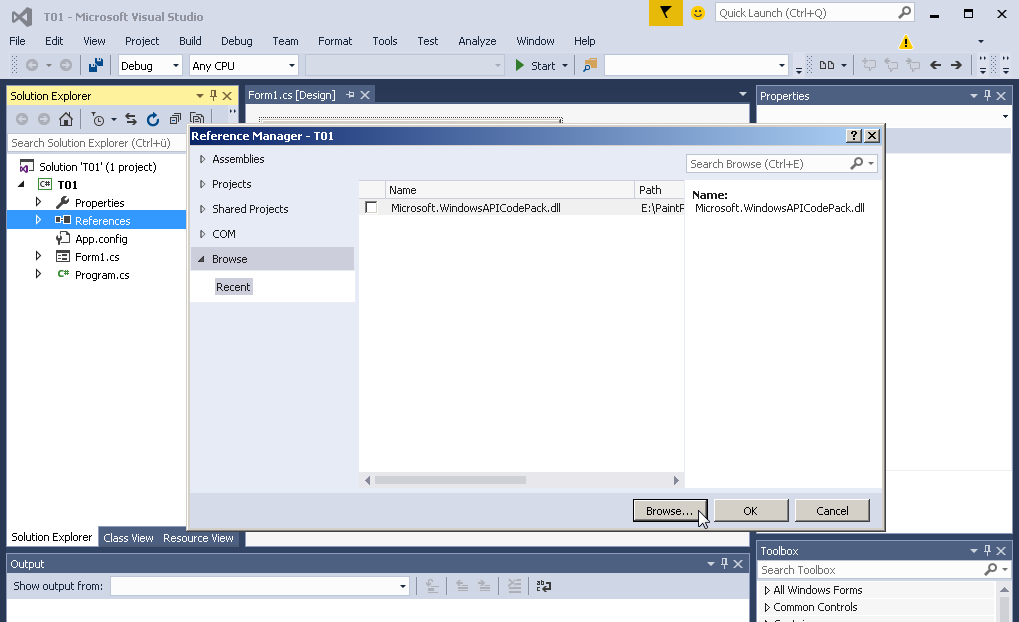
Navigate to your solution's folder and select the Nateo.dll.
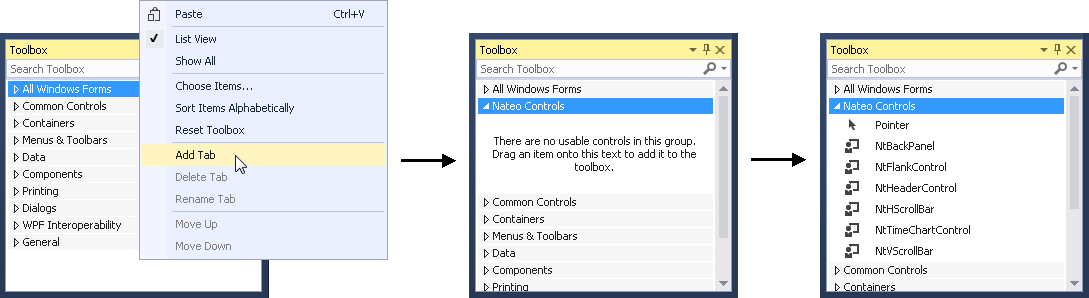
4. In the Tool Box, right click and select 'Add Tab'. Name the new tab 'Nateo Controls'. Drag the new tab upwards to second position so you can reach it easily.
Then right-click the this freshly added tab and select 'Choose Items ...'. The 'Choose Items' dialog opens. Click 'Browse ...' button and navigate to the Nateo.dll and select it.
In the 'Choose Items' dialog you now see the Nateo Controls listed and selected. Just click ok. See these steps below:
Adding and aligning the controls
5. Now enlarge your Form a little so you have more space to place controls and then add the following controls from the Tool Box:
- A NtTimeChartControl - place it to the center and leave some space to the top and to the left
- A NtHeaderControl - place it on top of the NtTimeChartControl
- A NtFlankControl - place it to the left of the NtTimeChartControl
- A NtHScrollBar - place it to the bottom of the NtTimeChartControl
- A NtVScrollBar - place it to the right of the NtTimeChartControl
- A NtBackPanel - make it quite small and place it somewhere on the Form where it does not disturb
After positioning them in a way that the edges align well, things should look like this:
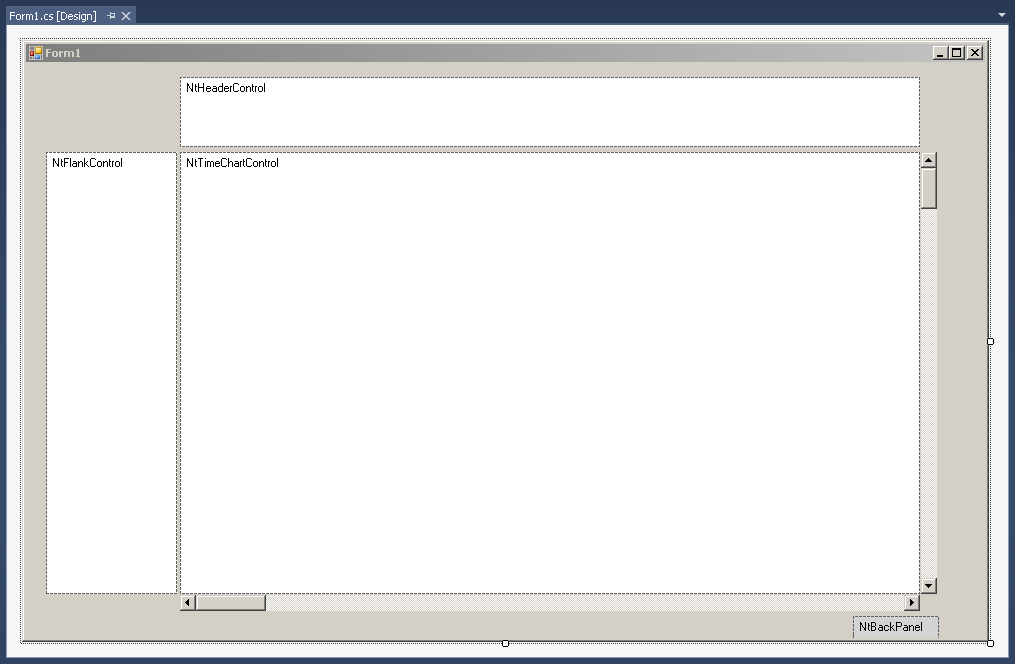
Please note the small NtBackPanel to the very bottom right.
6. Now set the properties of the controls you just added:
| Control | Name | Anchor | Dock | BorderStyle |
|---|---|---|---|---|
| NtTimeChartControl | ntTimeChartControl | Top, Bottom, Left, Right | None | None |
| NtHeaderControl | ntHeaderControl | Top, Left, Right | None | Fixed3D |
| NtFlankControl | ntLeftFlankControl | Top, Bottom, Left | None | None |
| NtHScrollBar | ntTimeChartControlHScrollBar | Bottom, Left, Right | None | |
| NtVScrollBar | ntTimeChartControlVScrollBar | Top, Bottom, Right | None | |
| NtBackPanel | ntBackPanel | Top, Bottom, Left, Right | None | Fixed3D |
The principle for anchoring is easy here: The Time Chart and back panel anchor on all edges, while the other ones anchor to all but the one where the Time Chart is located (e.g. the Time Chart is right to the Flank Control, so the Flank Control does not anchor to the right).
Initializig the Controls
7. To your Form1.cs file that will contain the program code for your Form, please add a
Then add a handler method for the Form's
This handler will be called on startup of the Form, so the initialization code for the controls can be put
there. As a result the handler method should look like this:
Start the application
8. Launching the application you should see the Form like this:

Taking a closer look will indicate that the vertical lines of the Header Control and those of the central Time Chart are not perfectly aligned. This happens if in your IDE you
perfectly aligned the left and right edges of these controls with each other, because the Header Control has a 3D border while the Time Chart has no border at all. You can easily fix this by enlarging the
Header Control to the left and to the right by two pixels each in order to compensate for the 3D border.
Finally please change the size of the Form (e.g. maximize it) in order to check if all controls behave well. If not, please check the anchors of all controls according to the table above.
Done.
Congratulations, you successuflly created your first Nateo Time Chart application. It is still empty but this one will work as the starting base for the next tutorials where you will quickly add
data and features.
Back to Overview